start work order
Low-Budget Repairs Getting Started Guide
Learn the source-safe early repair loop, how to read objectives, and what to verify when the release build arrives.
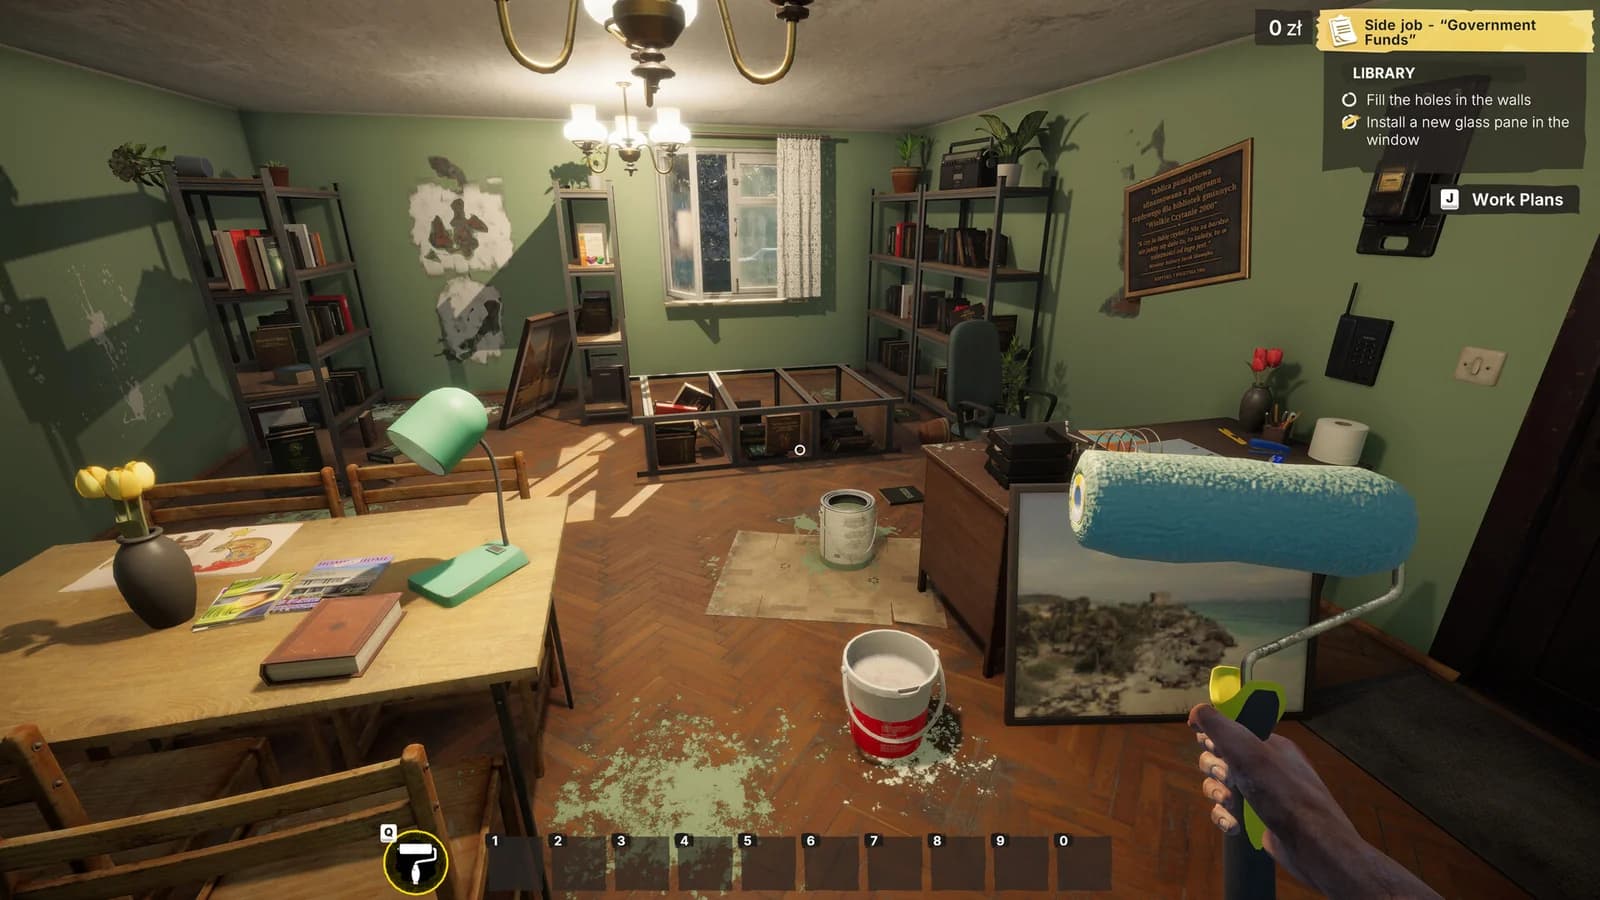
Direct answer
Start by treating the objective list as the work order: identify the current action, find the object or surface that produces the matching interaction prompt, use the displayed binding, and check the list again before spending money or starting another repair.
The job loop
The useful loop is short:
- Read the current objective. Separate the active instruction from later checklist items.
- Inspect the room. Look for an interaction marker, highlighted object, tool, container, or repair surface that matches the instruction.
- Use the requested input. Follow the binding shown on screen; screenshots are examples, not a permanent key map.
- Confirm the result. Check whether the objective changed before repeating the action.
- Move to the next instruction. Do not assume that a visibly damaged surface belongs to the current step.
This approach is intentionally less brittle than memorizing a sequence from pre-release media.
Your first 20 minutes
Spend the opening period learning what the interface is telling you rather than optimizing income:
- identify where the active objective and sub-steps appear;
- practice centering the reticle until the correct interaction prompt appears;
- notice how held objects expose different actions from tools;
- confirm that a step is complete before leaving the room or job area;
- record any control or display issue with the current resolution and build context.
If the prompt appears offset or an object cannot be selected, move to the controls guide. If the game does not reach the job, use loading and black-screen help.
Reading objectives without guessing
Objective wording is the safest source of truth inside the current build. A screenshot can show an example task, but it cannot prove that the release build uses the same order or requirements. When the list gives several sub-steps, complete the one the game currently allows and re-read the list.
Buying only what the job needs
The official premise includes cheap equipment and cost-conscious renovation, but final prices, durability, and profit rules have not been verified. Avoid stockpiling based on pre-release numbers. A dedicated money strategy remains withheld until multiple release jobs can be compared.
When a Demo observation may change
Treat the Demo as its own build context. A control prompt, object position, objective order, or completion trigger seen there stays labeled Demo until reproduced in release. The Demo guide explains that boundary.
Where to go next
Use Tools to identify demonstrated equipment roles, then choose Painting, Tiling, or Electricity according to the objective in front of you.
Sources
- Low-Budget Repairs on Steamsteam store · checked 2026-08-10 · Pre-release full-game store listing
- Low-Budget Repairs Demo on Steamsteam store · checked 2026-08-10 · Current public Demo store listing
Close-out questions
Frequently asked questions
- Is this also the How to Play guide?
- Yes. Beginner, first-20-minutes, core-loop, and what-to-do-first help all live on this page to keep one clear canonical guide.
- Does this describe the final release progression?
- No. It describes the officially presented repair loop and clearly marks behavior that still needs release-build verification.